6.30.2015

June Selfish Sewing

Well...June ended up being busier than I thought it would be.  So I never got out of the planning stage for this project.  I played around with the Paradiso charm pack and mini charm pack that I have.  I came up with one idea.
I thought it might be too busy, so I got a Bella solid charm pack in white, and came up with this idea.
I couldn't decide which I liked better, or whether to just scrap the idea and come up with something else.  I had other things demanding my time, so sewing anything together just didn't happen this month.  I couldn't even find time to put together an hour basket.  So I didn't quite make my goal this month, but I didn't quite not, since this was a selfish sewing project that's been more of a work-in-progress.  I'll keep playing with ideas and see if I can come up with something during the rest of the summer.


6.06.2015

Time for some Selfish Sewing!

I haven't quite figured out what I'm going to make for my #ALYOF project for June.  I just know it's going to be something for ME!  I'm tired of making beautiful mini quilts and sending them off to other people, lol.  So this time around it's something for me that I can hang on my wall.  Or a pouch.  Or Hour Basket.  I will try to use some of the fabric or charm packs I've bought these past few months.  Paradiso? Daysail? Figures?  Not sure.  But I'll probably sit and do a little planning when the kids spend time at the pool now that Summer Break has started.  I'll try to keep you posted of progress throughout the month, rather than just coming back with the final product.

5.31.2015

ALYOF May Goal--Finished!

My goal for May was to make something for my daughter's homeroom teacher.  May ended up being incredibly busy!  Which, I guess, shouldn't surprise me after all these years.  I didn't have a lot of time to work on sewing projects, but I managed to squeeze in just enough time to make a modified Hour Basket.  I used all of the Pittsburgh Steelers fabrics I have, since her teacher is a huge Steelers fan.  That was the easy part.
I made the pieces 10.5" x 12.5" (instead of the usual 10.5" x 16.5").  This gave me a more square basket. I didn't have the right interfacing on hand, so I just used some leftover batting.  I also messed up fussy-cutting the handles, but I didn't feel like redoing them.  The black probably wasn't the right fabric to use for them, but I really was pressed for time, so I just went with it.
 
I still haven't figured out what I'm going to put into it--I have a few more days!
Overall, I'm happy with how the basket came out, and I'm sure I'll be making more in the future.  If I find a few hours this week, I might try making some for her other teachers.

5.05.2015

Goal for May--Teacher Gift

I was struggling with what to use for my May goal. I've been working on hexie flowers, but I've already used that as a goal. I have a bunch of UFOs, but I haven't been inspired to use those. Then it hit me--school is almost over and I'd been planning to make something for my daughter's teacher. Originally I was going to make her a tote for Christmas, but I ran out of time. Then I figured I'd just make her one for he end of the year. Everyone has been making Hour Baskets on Instagram. So now I'm trying to decide which would be more useful, the tote or the basket. If I make a basket, I'll probably make some for a few of my daughter's other teachers as well. Either way, my goal is to make something for her home room teacher this month. And it will definitely be out of Steelers fabric since her teacher is a huge fan. Maybe I'll make a second smaller one for the Jolly Ranchers she keeps on her desk for the kids...

4.24.2015

ALYOF April Goal Met!

I met my April goal to bind and label my Rainbow Mini Quilt, and couldn't be happier with the result!  I can't remember exactly how I came up with the idea for this mini quilt for the Instagram Rainbow Mini Swap.  All I knew was that I wanted to use batik fabrics, because my partner listed that she liked them, as do I.  Many "modern" quilters on IG don't seem to like batiks, but I happen to love them.  I also knew I wanted to use more cool colors of the rainbow, because my partner's favorite colors were blue, teal, and purple.  Couldn't agree more.  Well, throw in some green, and I'm a happy person.
I have wanted to make a Storm-at-Sea quilt for years now (one of the quilts in my partners inspiration photos), but that pattern wasn't quite working for me as a mini.  I stumbled upon some quilts on Instagram that used the 54-40 or Fight block (similar to the Storm at Sea pattern), but had different Shoo Fly blocks for the alternating block.  I took the idea of one of those, and tweaked it enough to work into a rainbow mini.  But because of the size and placement of the blocks in my design, I ended up piecing the quilt in rows instead of traditional blocks.  I wanted complete white "circles," which meant half-sized squares around the edges.  The hardest part was laying everything out so that the same fabrics weren't too close to each other in the different positions throughout the quilt.  I rearranged things many, many, many times.  Still not perfect, but I was running out of batiks!
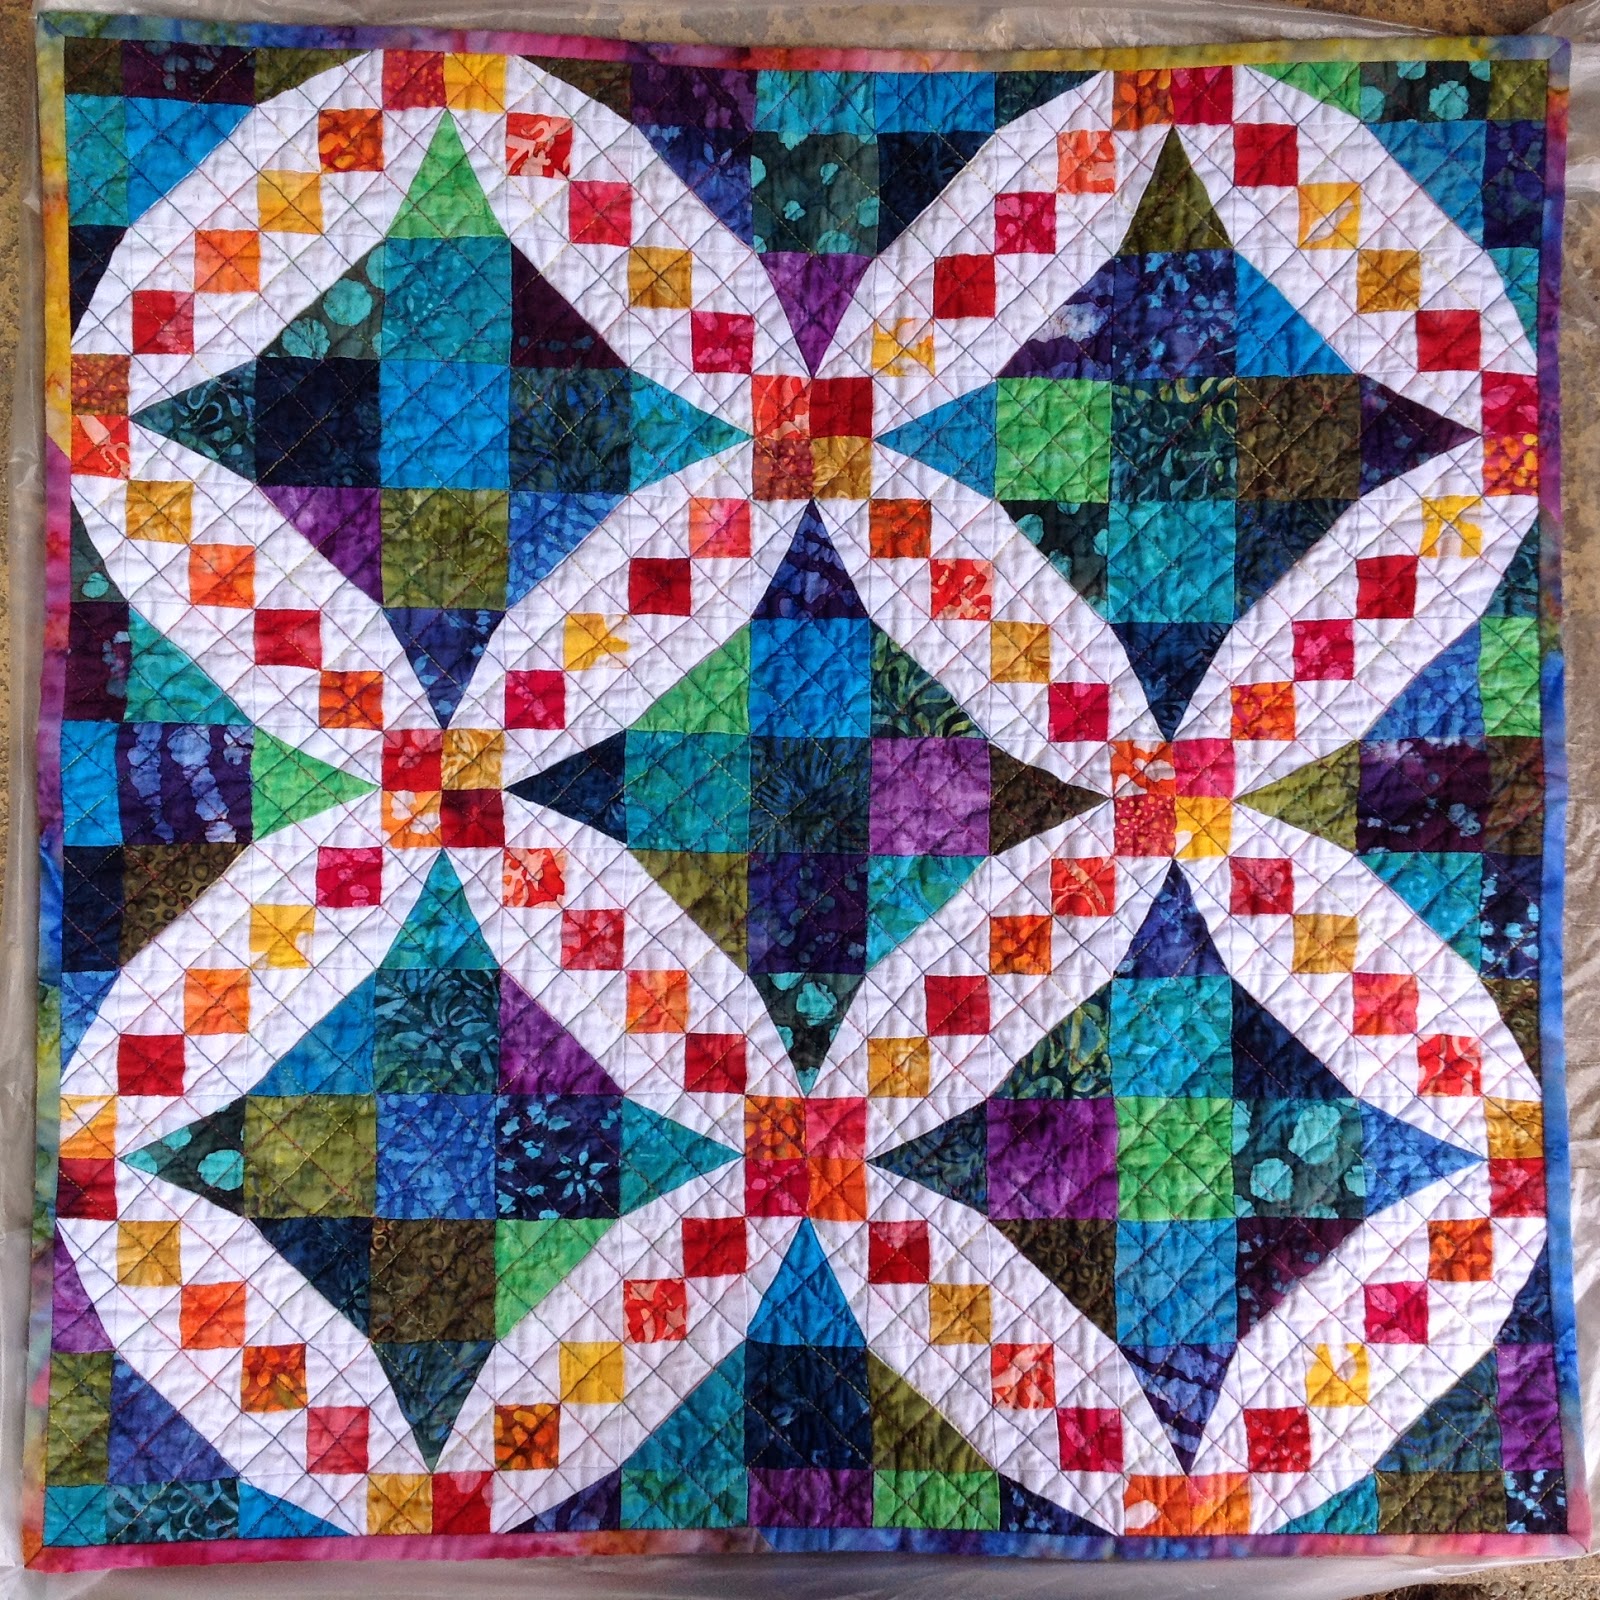
I decided to use a variegated rainbow thread I've had for ages (actually bought it to quilt the Winnie-the-Pooh baby quilt I finished up in February), and to quilt it in a crosshatch pattern.  I'm not sure if that was the right choice for the quilt, to be honest, but I couldn't come up with anything better.  The backing fabric I picked out when I was shopping for all the batiks.  I liked how there were circles of color, echoing the white circles on the front of the quilt.  It turns out my partner chose the same fabric to back the quilt she made for her partner!  
Then came the fabric choice for the binding.  I wanted something that would blend with the batiks on the front, and wouldn't call too much attention to itself.  I thought about using scraps of the fabrics I had used on the front, but didn't want to have a bunch of tiny strips and seams to deal with.  I went to my local quilt shop, where there is an entire room of batik fabrics!  After auditioning a half dozen or so fabrics, I chose a rainbow batik, thinking it would give me the look of the fabric scraps, but in longer strips.  When I got it home and put it against the quilt, I wasn't sure I had made the right choice.  The colors didn't quite match the fabrics I had used, but I really didn't have it in my fabric budget to go back and try again.  Once the rainbow batik was cut into binding strips, and sewn onto the quilt, I was happy again.  It turned out how I thought (hoped) it would!
Next was designing a quilt label.  I hate writing on labels, because I get all OCD about the way my handwriting looks, and will do it over and over and never quite be happy.  My new favorite method is to create a label in Microsoft Publisher (somewhere this Visual Communications Minor is happy), print it onto white Kona fabric (that has been ironed onto freezer paper), sew it into a double-layered square, and then hand-stitch it down to the quilt (because I also hate to do any kind of needle-turn applique).  In Publisher I got to play around with the font coloring, and used a rainbow gradient for the title of the quilt, and also added some rainbow heart clipart.
It was very difficult for me to package this one up and send it off to a new home.  Perhaps someday I will make one of my very one to keep!
And now the artistic "throw it over the wooden fence in the backyard" shot...
And here's a picture of all the extras I sent along with my quilt mini.  I liked how the notebook looked like the quilt pattern.  I made an openwide pouch, a mug rug, and a magnetic bookmark all using this cute kitten fabric I found and a matching batik.  Since I like to create/design using graph paper and colored pencils, I included some for my partner.  When I was cutting out the fabrics for the quilt, I cut extra 2.5" squares from a bunch of batiks, and added those, along with a 2.5" square ruler.  And what's a rainbow swap without Skittles, rainbow Mentos, and an 8-color click pen?  And my favorite little extra from Five Below--sparkle lollipops in a rainbow of colors.

4.03.2015

April Goal (and what happened in March)

March is a crazy month for me.  Both kids' birthdays are in March, four days apart.  And then I had a baby shower to get ready for (for my sister-in-law).  So somewhere along the way, I never got around to blogging about my sewing goal for March.  But I had one, and I made it.  Just didn't get to participate in the "A Lovely Year of Finishes" part of it.  It was to make a Open-Wide Pouch for a swap I was in. 
Besides making the Open-Wide Pouch, and a few extras to go with it, I was also working on my Rainbow Mini Quilt Swap.
I can't remember how I came up with the idea for it.  Something I saw posted on Instagram (where most of my inspiration comes from these days).  My partner loves Batik fabrics, and so do I.  So I really wanted to do something using Batiks and Kona solids.  Somewhere along the way, I came up with this quilt.  I quilted it using rainbow variegated thread in a cross-hatch pattern.  And cut binding strips from a rainbow Batik fabric.
I also made an Open-Wide Pouch for my partner, using another Batik fabric and a cute kitty fabric (she also likes cats).  And I made a label using my printer.
 My April goal is to finish the binding and attach the quilt label.  And then get the quilt and all my extras packed up and shipped off to their new home!  I have until Monday to do it, so I think I'll make this goal.  And then I've decided to take a break from swaps, and just do some selfish sewing for myself and my daughter.  And clean up some of the mess around here.


2.28.2015

February Finish--Bright Star Quilt

It's done! I completed this quilt at 2:00am this morning, but it is done! I tried to get some pictures out in the bright sunshine. It was probably too bright outside, and the pictures are a little washed out. I don't have time to write a proper blog post about it today. I just wanted to be able to share it for my February Finish. I completed the hand quilting and bound the quilt, so I met my goal! And couldn't be happier. The rest of the story will have to wait for another blog post.


2.02.2015

February Goal--Bright Star Quilt

January is done, so it's on to my next quilty goal--finishing this quilt.  I started it so long ago (over 11 years ago), that I can't remember the name of it or where the pattern is from.  I'm pretty sure it was from an ad in American Patchwork & Quilting, and it was a free pattern, sometime around 2003.  I started before I knew I was pregnant with my second child, and then I got horrible morning sickness that lasted 14 weeks.  Not much happened during those 14 weeks.  I'm pretty sure I must have worked on it after she was born, but it's been put away in a container for so long, I don't remember.  Thankfully my quilt markings are still visible.  Hopefully they will wash out when I'm done!
When the whole idea of finishing up some quilt UFOs came up, I knew this was one of the projects I wanted to pull out and complete.  I'm so close to being done.  I'm handquilting it, which is why it isn't done.  I have about 5 or 6 more blocks to quilt, and then I need to decide what to do about the borders.  Since I'm only doing minimal quilting in the blocks (in-the-ditch around the stars and blocks, plus a heart in the center of each star, and alternating circles and diamonds where the blocks meet), I don't want to go overboard on the borders.  Plus I just want to get it finished and bound.  I did have the foresight to make the binding all those years ago from fabrics I used in the blocks, so that part won't be too hard.  It's just getting it quilted already!
So my goal for February is to have this completed--quilted and bound.

1.31.2015

English Paper Piecing--Done!

I started out the month of January with the goal of learning how to English Paper Piece (EPP) and to complete a hexie flower for my Instagram friend, Heidee.  Goal met!  But not without some detours along the way.

I read a bunch of tutorials and watched some videos before starting on this project.  After figuring I had the basics down, and wanting to start right away, I grabbed some scraps from my IG Mini Quilt and got to work.  Above is a work-in-progress photo of my practice flower.  As you can see, I decided to try mixing colors, since I was trying to use up some scraps in the process.

Then I got this idea of using up some black cardstock that I had leftover from a school project.  That meant tracing the hexagon shapes using a white colored pencil.  Worked well enough.
 
So I set about making a flower using some fabric I rediscovered from an earlier project.  (Side note: most of my stash, I will admit, is 10-15 years old or more.  I've been working on this "quilting thing" for almost 20 years.  But with a big break from it over the past 5 years or so.  Which means I don't have a lot of "modern" fabrics.  Sorry, folks, that's just the truth.  And in an effort to "sew my stash," expect lots of projects using what are nearly vintage fabrics at this point.)
While I really like this fabric, and finished it long before the month was over, I just wasn't crazy about the end-result.  Someone had suggested glue-basting, and I think I used too much glue, and didn't like the way it turned out on the back.  Plus the black cardstock kind of stuck to the fabric and I was afraid it might show through.  (Maybe not such a good idea to use the black cardstock after all.)  I'm also not crazy about my hand-printing abilities, which means I obsessed over writing my name and location on the center hexagon.  Like really obsessed over it, and probably made two dozen attempts before settling and just going with what I had.

I really wanted to give fussy-cutting a try, so I went back to my stash, and grabbed one of my earliest quilting fabric purchases.  I should have taken a photo of the whole fabric so you could see where I took my hexagons from.  Anyway, much happier with this one, and I honestly just finished stitching it up this afternoon.  Nothing like waiting until the last minute!
And a picture of the back.  Complete with black cardstock.  I punched holes in them to make them easier to remove.  And didn't use glue this time around.  I think I basted too close to the fold, but it should be okay.  I hope!
I hope Heidee likes it, and I will be shipping it off to the UK soon!

1.03.2015

New Year, New Focus

I didn't do much crafting last year.  Life was just too busy, I guess.  I lost focus.  My Etsy store has had almost no sales for months and months.  The beaded bookmark market has dried up.  About mid-year, though, I decided to check out Instagram a little closer, and discovered a bunch of wonderful quilters posting beautiful photos every day.  I decided that was the focus I needed.  Quilting is probably my first love when it comes to crafting, and I have ignored it way too much over the past few years (too many years, that I try not to count or think about it).  Through Instagram, I joined the first #IGMiniSwap, my first quilt swap.  We were to make a mini quilt for a secret partner, and we would get one in exchange from a different secret partner.  Here's what I made:

Long story short, I realized how much I missed quilting and creating with fabric.  But I also realize that I needed an extra push now and then, so I've decided to join A Lovely Year of Finishes in hopes that I will get things accomplished this year, and make my life happier by doing so.

One of the people I "met" through Instagram was my swap mama for the mini quilt swap, Heidee.  Heidee has asked quilt friends to make her a hexie flower for a quilt she wants to create.  Each quilter is to send an English Paper Pieced flower.  I've never done English Paper Piecing, but I'm always up for a challenge!  I have chosen completing my hexie flower as my January project.  Starting out simple, I know.  But I've got to start somewhere.  Plus I have at least the next two months worth of projects already figured out.  Two of Heidee's flowers are below.

3.19.2011

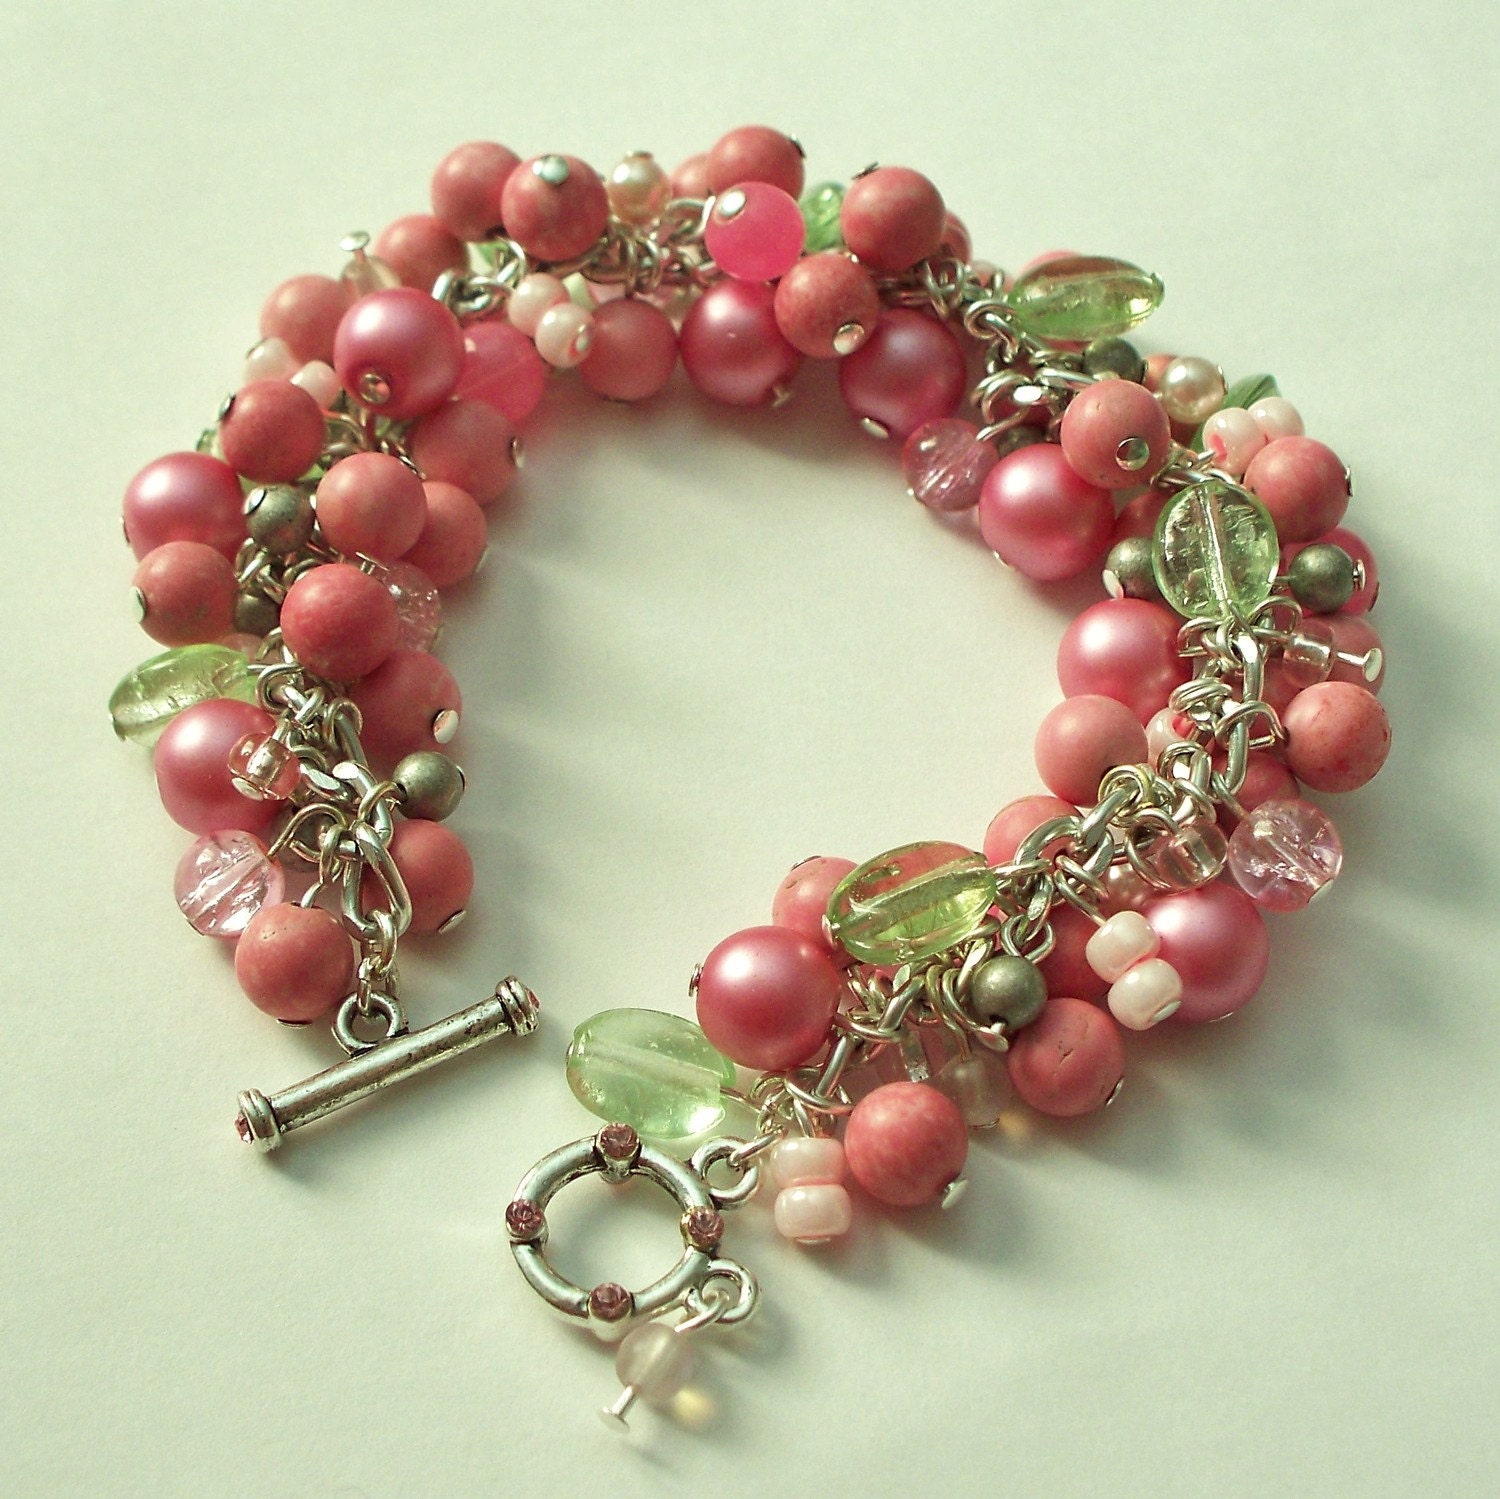
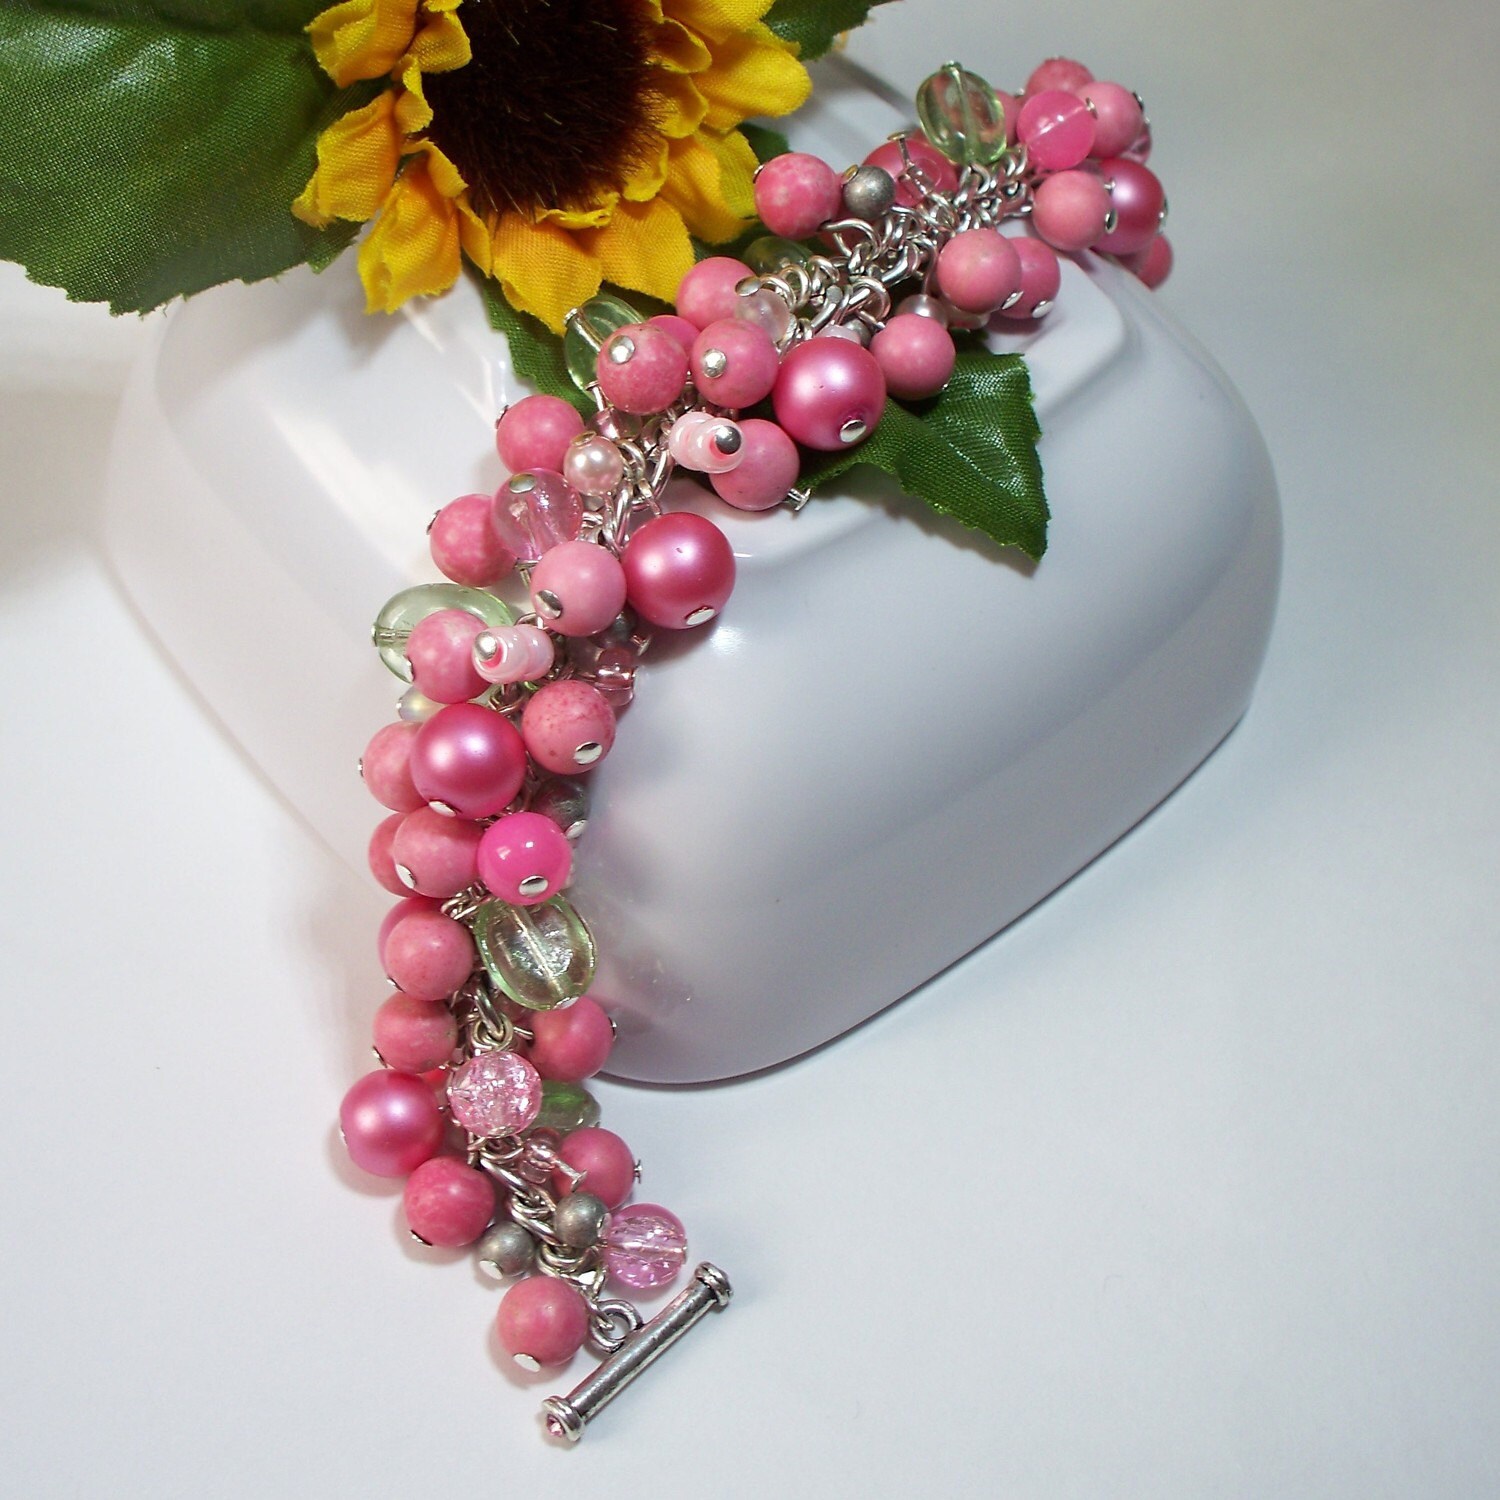
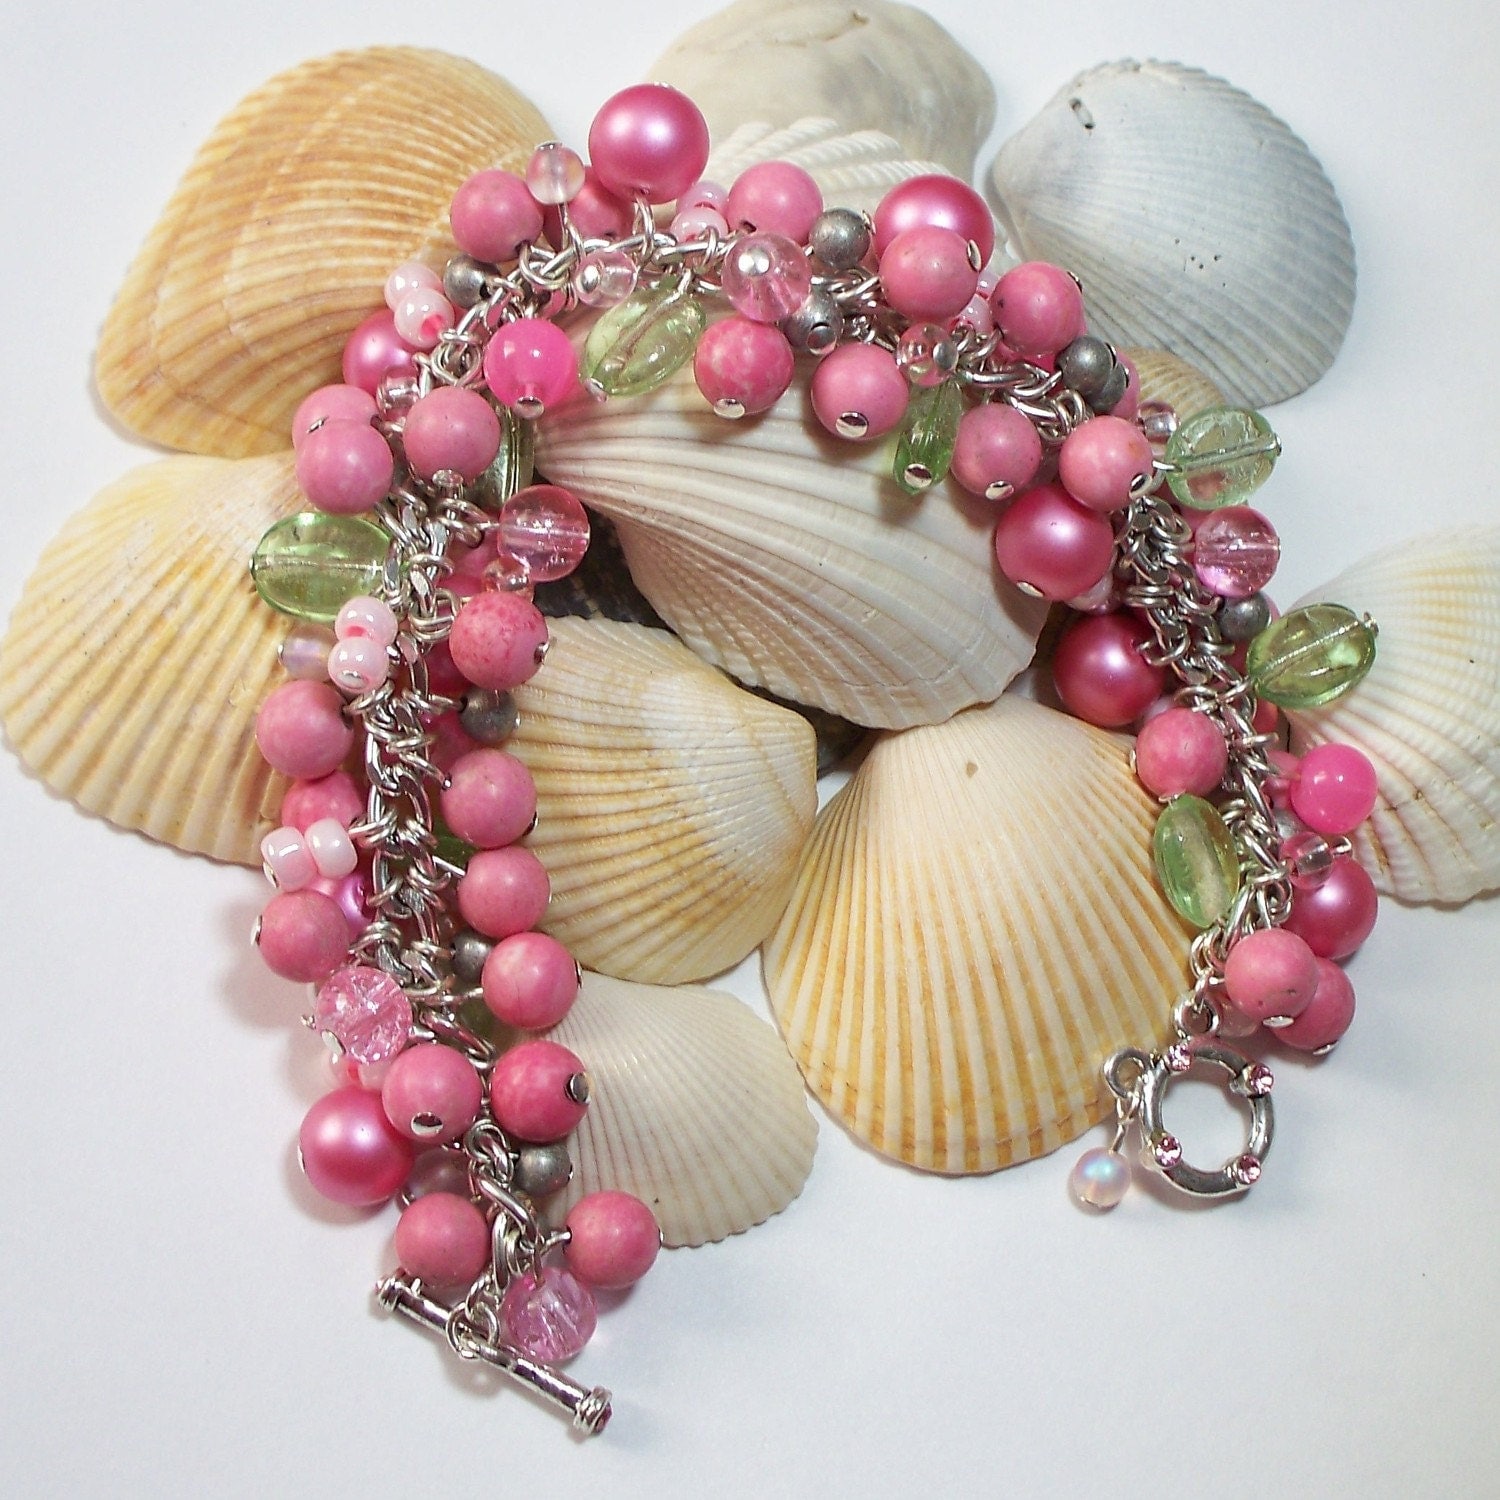
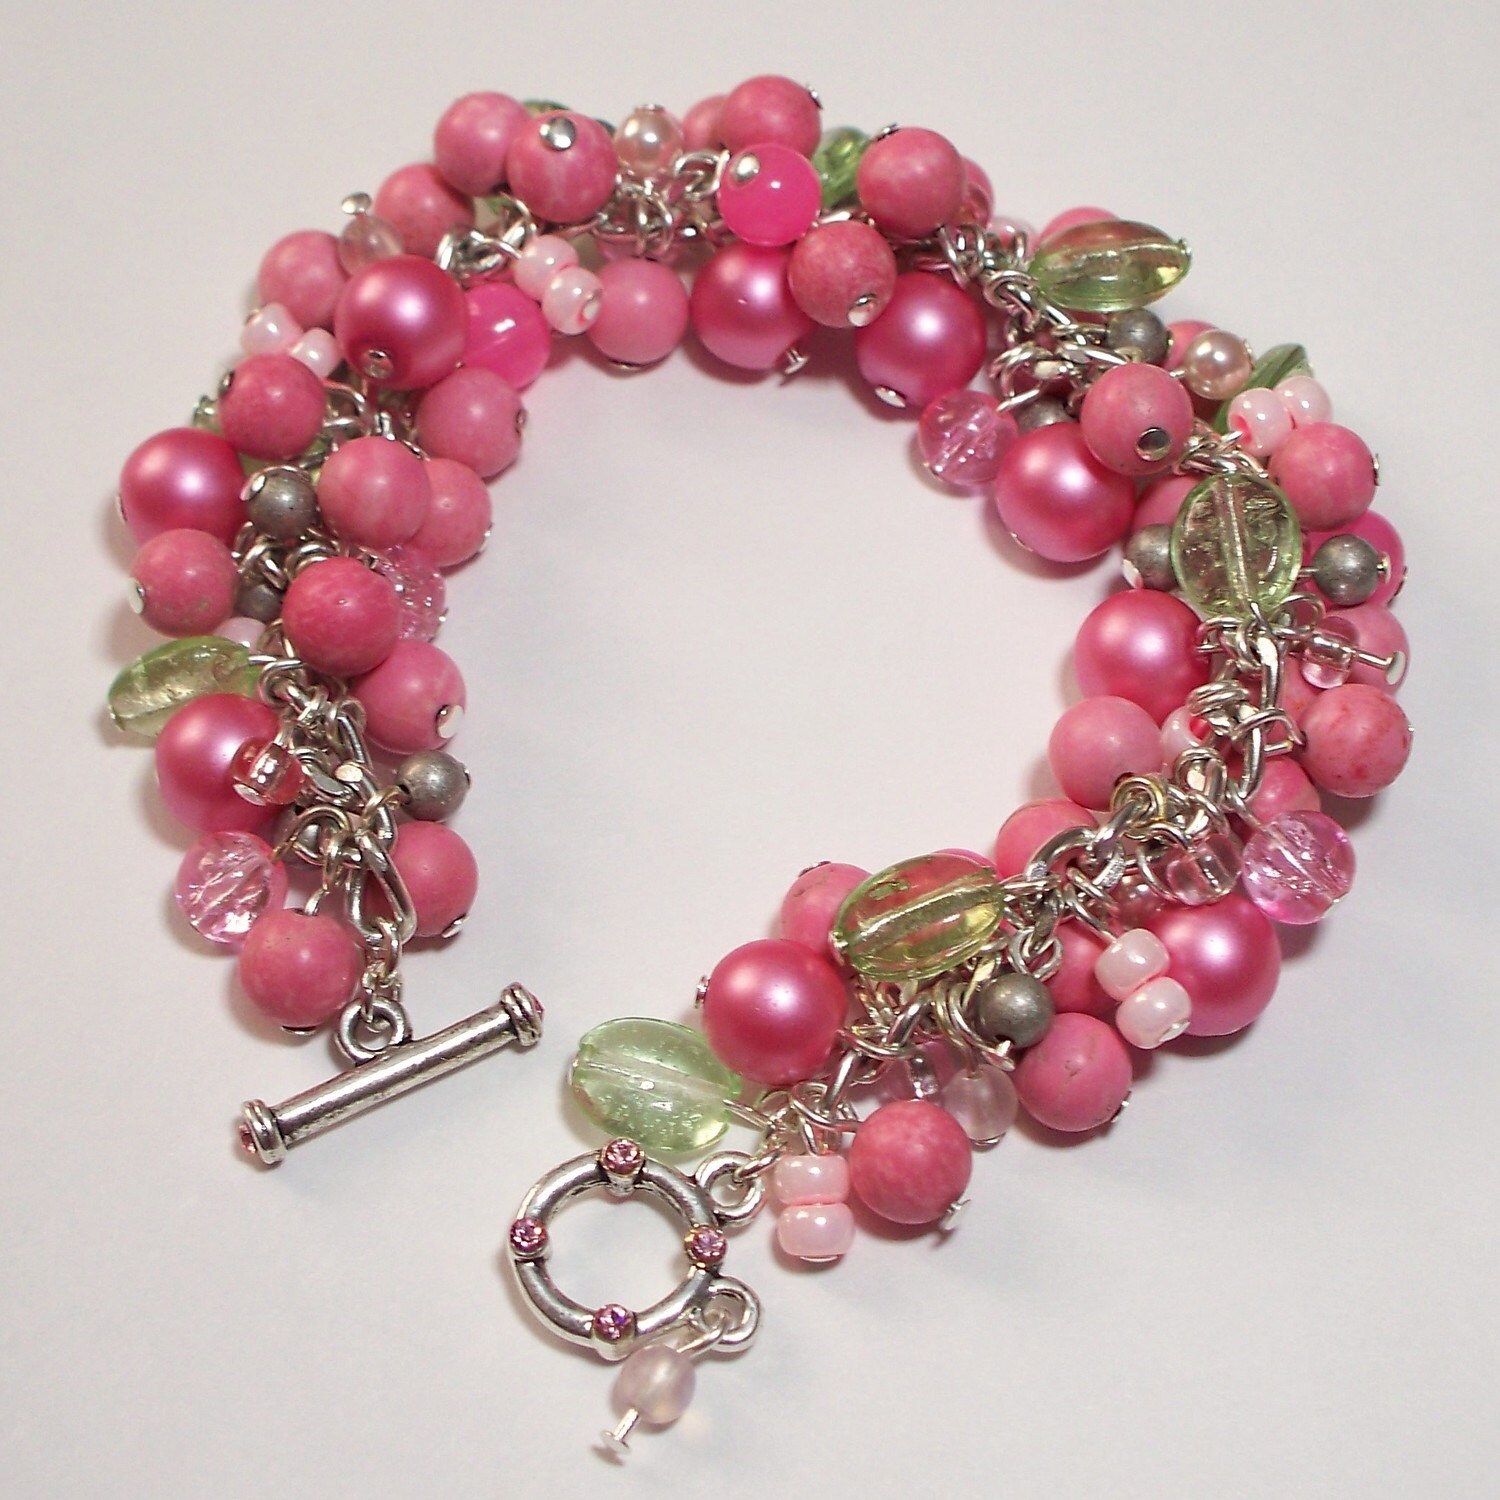
Honeysuckle Cha-Cha Bracelet

A while ago, I bought some pink magnesite beads with the idea of turning them into a necklace with a pink heart gemstone/fossil pendant as the center piece.  Then my Etsy Team, the Creative Handmade Artisans, decided to have a Spring Team Challenge, with the theme being the Pantone 2011 Color of the Year: Honeysuckle.  Now I know you're thinking "Honeysuckle is yellow, right?"  Well, apparently honeysuckle flowers can be pink as well, and that's the shade of the Pantone color.  I thought the pink magnesite necklace would be perfect for the challenge.

This past week I sat down to finally begin work on the necklace, and let's just say, it wasn't happening for me.  It just didn't feel right.  Then I thought about how I've been wanting to do a cha-cha style bracelet for a while, too.  Cha-cha style is when you take a ton of beads and attach them along a chain so the bracelet is just full of beads.  I knew the pink magnesite stones couldn't stand on their own, so I started pulling other things out of my vast bead collection.  Then I just started layering them onto an aluminum chain.  Thus, the Honeysuckle Cha-Cha Bracelet was born!

For a little bit of shine, I decided to use some larger pink pearl-finish beads.  For a little sparkle, I pulled out some pink crystal and pink glass beads.  I filled in with pewter-looking antique-silver finish beads.  For contrast, I grabbed these light green glass beads that never seem right in my bookmarks (I plan to make another cha-cha bracelet sometime with them and the same bead in different colors).  I think they look like little leaves on the bracelet. 

Still not thinking I had enough beads for the bracelet, I used some silver-lined pink glass seed beads and some pale pink seed beads, and finally finished off with tiny pale pink pearl-finish beads and some opalescent pink beads.  That's when I quit.  Not so much because I felt there were enough beads (I still had room for some more), but because my poor fingers hurt from bending all the wire and because I didn't want the bracelet to get too heavy.  I needed a clasp, so I used one that I had with tiny light rose Swarovski crystals on it.

All in all, I'm really happy with how the bracelet turned out.  When my fingers recover, and I pick up some more headpins, maybe I'll tackle the bracelet using the green, teal, and blue oval beads.  Plus I've had this idea for a while to use a bunch of "misfit" beads to make a bracelet.  Then maybe I'll figure out what to do with the poor pink heart gemstone/fossil pendant that didn't get to be used for this challenge.

Let me know what you think of my Honeysuckle Cha-Cha Bracelet!

10.31.2010

Delete! Delete! Delete!

Halloween is finally over. And I got the costumes made. More or less. I probably made Ali's one size too small, so she won't be able to wear it much longer. And we couldn't brave the SW-PA Halloween temps without covering up the costume, instead of wearing an extra layer underneath. The hardest part of her costume was finding a stuffed animal suitable to be Toto.


Now EJ's costume?  A completely different story.  I think this is the hardest costume I have ever constructed.  It took several near-sleepless nights, an almost all-nighter, and it still wasn't as finished as I wanted it to be by today (let alone the school parade last Thursday).  I never did get the belt made.  And the mask could have been bigger.  And the boot covers were a little too small for his huge feet, so they didn't stay on correctly, and he kind of trampled them.  All in all, it turned out pretty well.  Too bad nobody around here knows what Cybermen are, but they still appreciated the costume.


I realized after I started making it that maybe I should have taken pictures along the way of the construction, but I didn't.  I used a pattern for a man's super hero costume (in XS) for the basic top/pants, which I made out of crushed panne.  I altered other pieces from the same pattern for the metal "plating" parts, and they're made from two layers of baroque satin, with a layer of fleece in between.  I used my machine quilting skills to make all the details, including the Cyber-C.  For the hood, I used a boy's super hero costume, and took the idea for the mask from that.  But the mask is based on a print-out of an actual Cyber-head, and was made from two layers of the satin with two layers of sew-in interfacing between, and has a piece of elastic to hold it on under the hood.  Then I took some sparkly silver "chenille stems" (because we can't say "pipe cleaners" anymore), doubled them up, and stitched them to the shoulder and thigh pieces, as well as the hood and the back of the mask.  I used the one on the mask to attach it to the hood piece after it was put on, and to sort of keep things in place.  I couldn't find any silver ski gloves (go figure!), so we just used stretchy gray gloves.  Never did get the joy buzzer, either.
 
Here's EJ trying to "delete" his sister before heading out for Trick-or-Treating.  And her playing her part with a "terrified" look on her face.
 

So, do I earn my "Geek Badge" for this one?

I have asked EJ to PLEASE pick something next year that has a pattern readily available and that I don't have to alter significantly.  Or else he needs to decide in July want he wants to be, and I have to not wait until two weeks before Halloween to start working on it.  And he can't change his mind once I do start working on it.  The same goes for Ali.  (Yeah, right.  Who am I kidding?  I'll make whatever they ask for...)